This week I have ended up with half of my week in Melbourne for a team offsite (tough life I know), and I knew that I wouldn’t really have time nor the supplies to do any sort of baking or cooking from my hotel room. I mean, although a lot of the apartments in Melbourne come with basic kitchenettes, it’s a little hard to work some cooking magic good enough for my readers from a hotel room. Plus, when in Melbourne, one has to take the opportunity to eat at the amazing range of delicious restaurants, why would anyone want to cook? So I decided I needed to figure out what I was going to make before I went to Melbourne, and as such I am now writing this blog post from the plane! It’s certainly providing a new atmosphere for my writing, with the whirring of the propellers and a free glass of red wine in hand. Makes for a rather relaxing evening! Hopefully this blog post still makes sense by the time I finish writing it!
It actually worked out well, because it gave me a reason to bake something delicious to bring into work to sort of thank my team for supporting me while I am gone/baking for my boyfriend who I’m leaving in Brisbane while I get to be in amazing Melbourne. I mean, you know I will take any excuse for baking, but it was really nice to put a smile on the faces of my team at work and my partner.
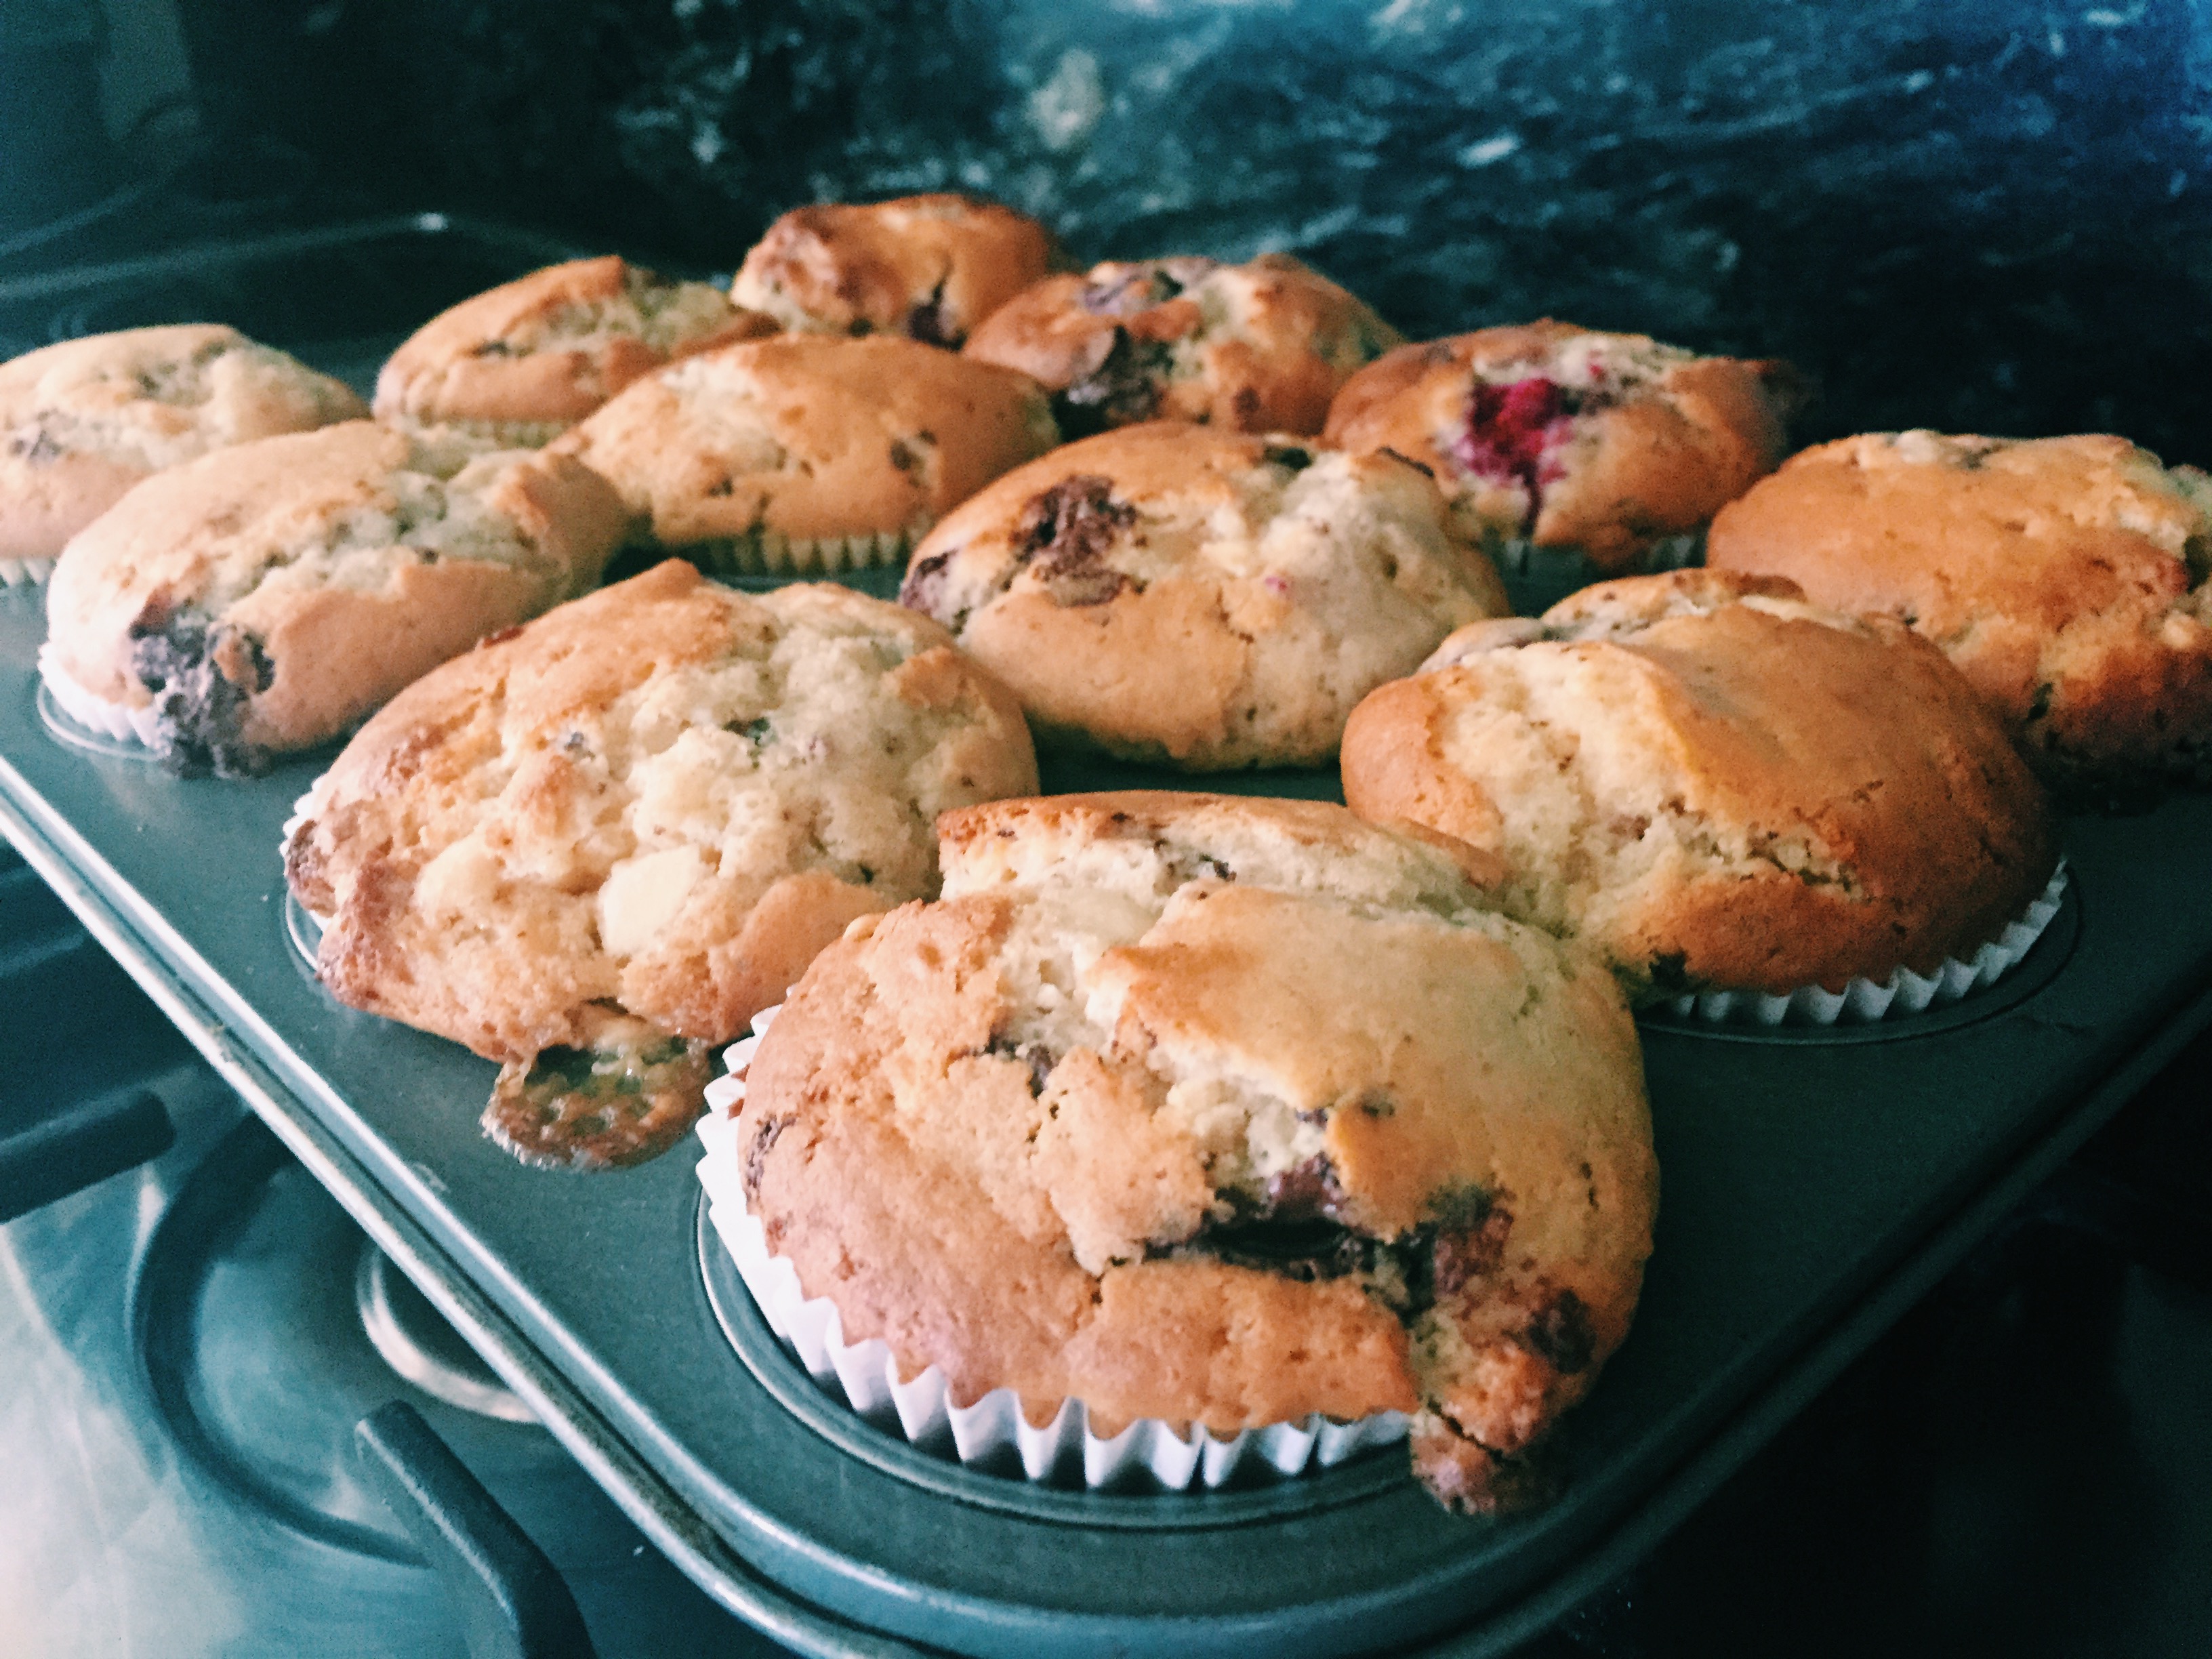
So I guess the question from there was what should I bake? Well, for quite some time I have been looking at recipes for these weird and wonderful things called ‘blondies’. Now I think these must be a little bigger in America than they are here, because I’d never really heard of them until I started taking an interest in food recipes, and I know a lot of the people at work also didn’t have a clue what they were. I guess the best way to describe them that I worked out was they are a brownie without the chocolate. Being a self-proclaimed chocolate addict, this to me doesn’t seem that great, I mean who doesn’t love a delicious, chocolatey brownie? But hear me out, because these ended up being so delicious I think I have been turned from my chocolate ways.
I decided to give this recipe a go, because as much as I absolutely love chocolate, I also adore peanut butter. I find it strange when people tell me they don’t like peanut butter, because it is pretty much the best invention since chocolate. When I saw this recipe for peanut butter blondies, I decided that, with my newly bought peanut butter, it would be the perfect time to give a blondie recipe a whirl! I was really proud of myself because I was getting a bit carried away with pimping out my blondie recipe, and was about to add chocolate chips. But then I decided that I needed to show control and just calm down a little. I am always up for adding in whatever I feel like at the time to recipes, and for once I decided to put the chocolate down, and let these blondies shine all on their own!
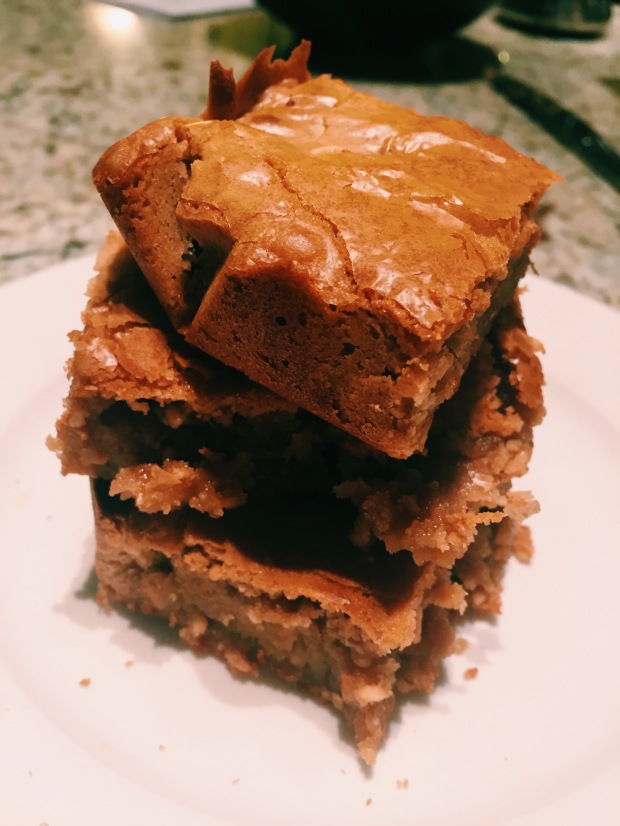
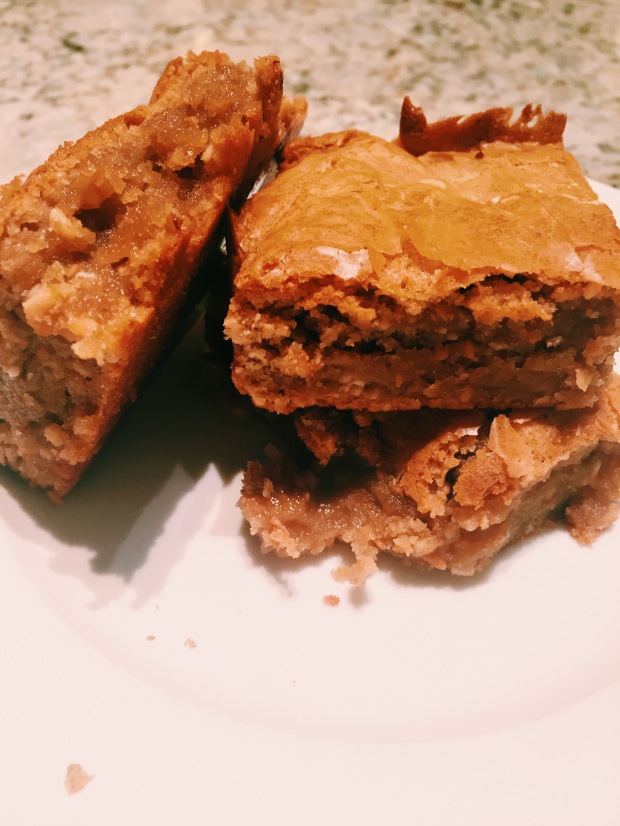
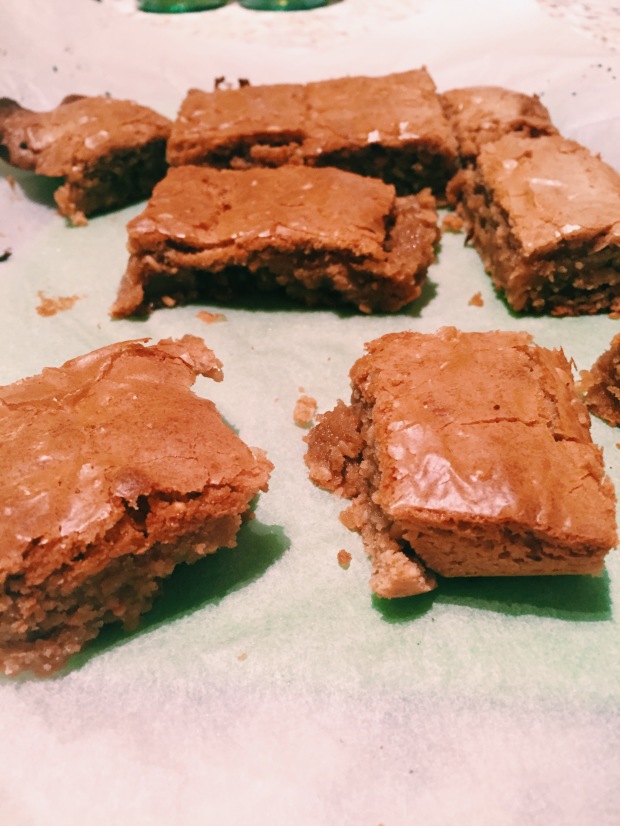
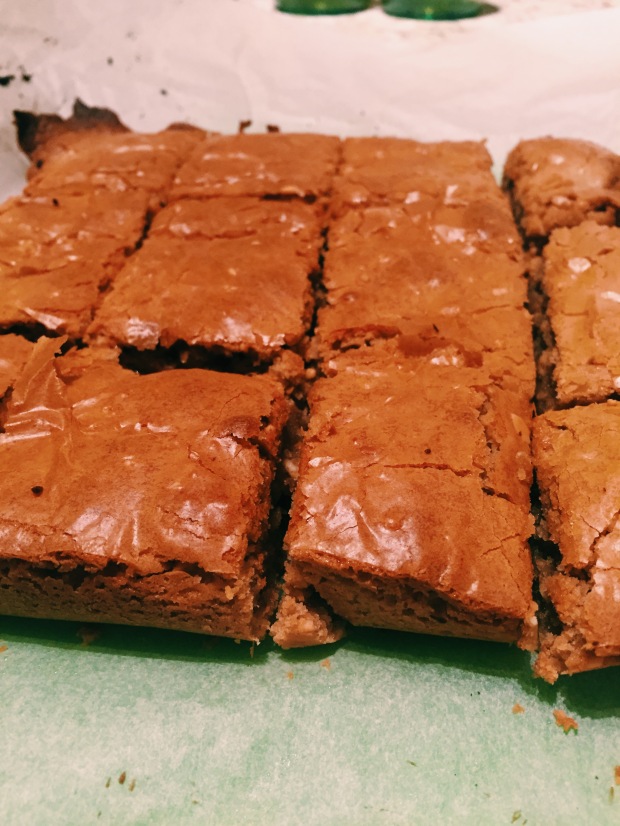
The resulting blondies were absolutely amazing. I can’t even describe to you how amazing the smell of the batter was as I was mixing it. It smelt like next level peanut butter caramel, and it took a lot of my will power to stop myself from eating it before cooking. But I am so glad I didn’t, because these blondies were next level good! I also made these gluten free, and you can’t even tell the difference! This made the girls who can’t eat gluten at my work very happy, and I was even able to pull one of them off her diet for the morning…whoops. And the best part was, I only used one bowl, was able to mix the batter with a kitchen spoon, and it only took 20 minutes to bake! You couldn’t ask for an easier, more delicious recipe! So here it is, especially because the girls at work were desperate for the recipe:
Peanut Butter and Caramel Blondies
| Adapted From | Gal on a Mission |
| Preparation Time | 10 minutes |
| Cooking Time | 20 minutes |
| Serves | 12 blondies |
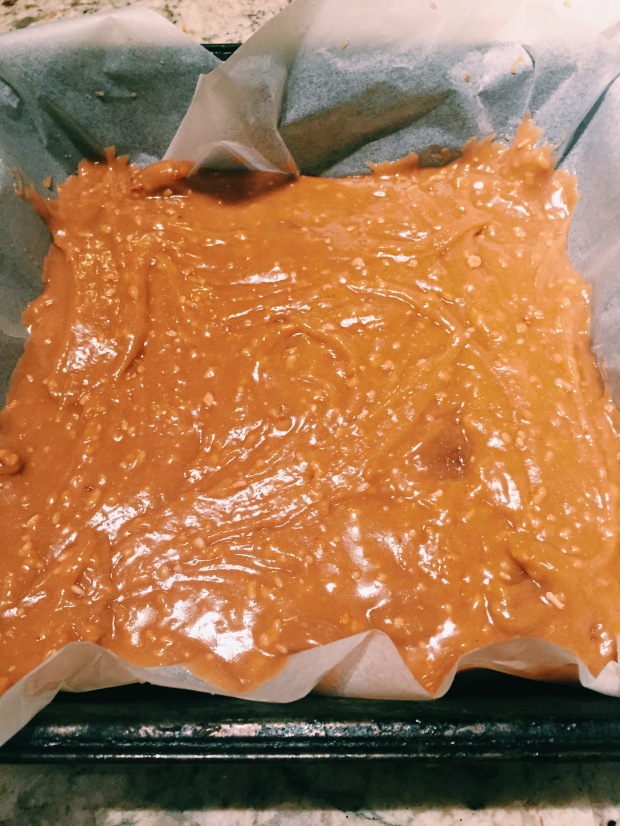
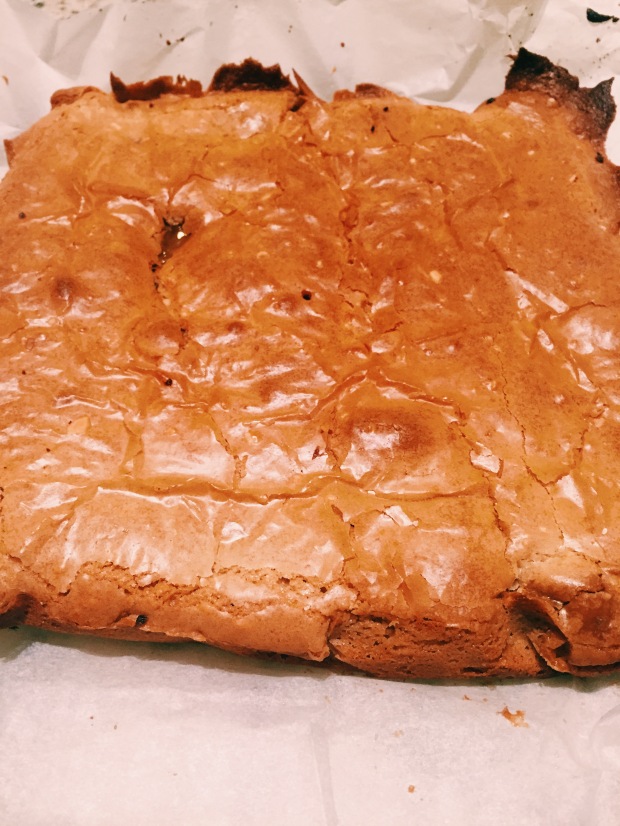
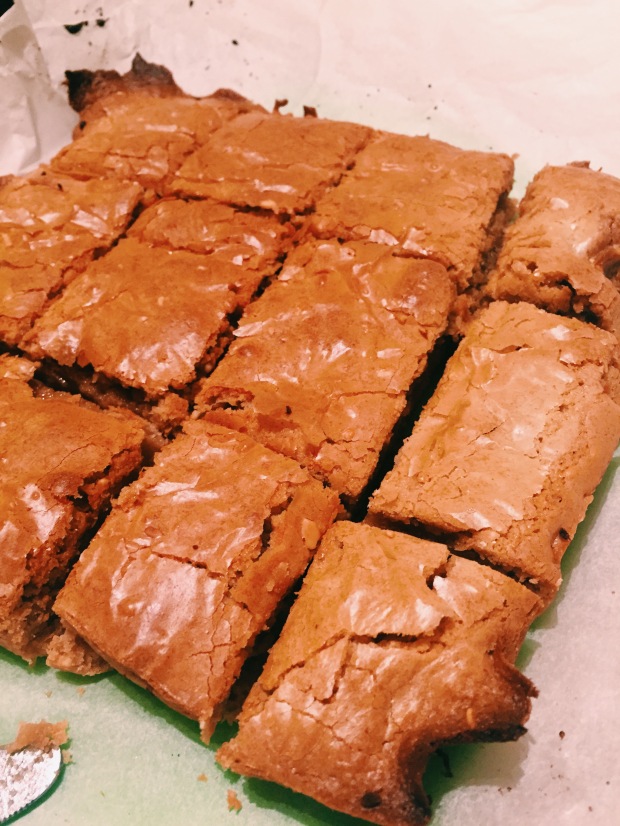
Ingredients· ½ cup of unsalted butter, melted · 1 cup of packed brown sugar · 1 egg · 1 teaspoon of vanilla extract · ½ cup of peanut butter (I used crunchy for an extra texture, but smooth would work just as well) · ¼ teaspoon of salt · 1 cup of gluten free flour (if you don’t want to make these gluten free you can use 1 cup of plain flour) · 1 packet of boiled caramel lollies (I used gluten free ones but you don’t have to) Method1. Preheat your oven to 180 degrees Celsius (350 Fahrenheit). Line a baking dish (I used a square one that was nice and deep) with baking paper and set aside. 2. In a large bowl, combine the melted butter and brown sugar, mixing with a spoon until combined completely. 3. Add in the egg and vanilla extract and stir until completely combined. 4. Mix in the peanut butter and stir to fully incorporate into the wet mixture. 5. Sift in the salt and flour and mix until completely combined, ensuring all flour is pushed down from the edges of the bowl. 6. Stir in the caramels until evenly mixed throughout the batter. 7. Pour the batter into the prepared pan and spread evenly using a spatula or the back of the spoon. 8. Place in oven and bake for 20-25 minutes, or until a skewer inserted into the middle comes out clean. 9. Allow to cool and cut into even pieces. 10. Serve immediately, or store in an airtight container. |
|
And that’s all there is to it, I told you it was simple! Maybe a little too easy to make, because now I know they are this easy I will find it hard not to whip them up all the time. I was surprised by how much people loved them given they aren’t really something we know about in Australia. Everyone went nuts for them at work, and they were gone before lunch time which I see as an indication of how delicious they were! My partner ate about 3, and said that when I get back from Melbourne I should make more because they were so delicious. I don’t believe anyone would complain if I did!
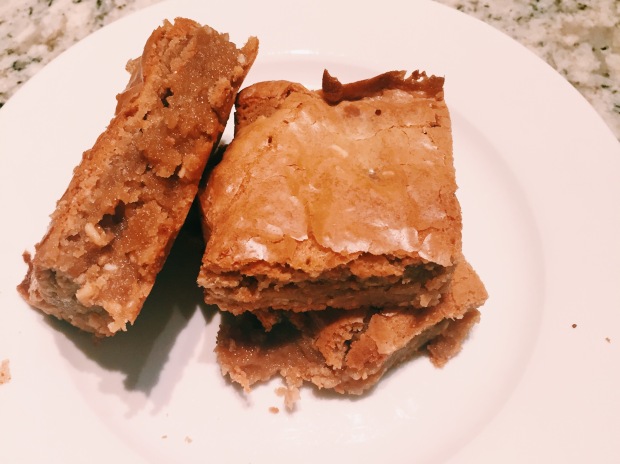
You wouldn’t even know that these blondies were gluten free. They were gooey and delicious, full of peanut butter and caramel flavours, exactly what you want when there is no chocolate involved. I think these are a pretty good contender for brownies in general, because even though they didn’t contain chocolate, they held their own on the taste front! I think it also added a little extra to include the caramels, as these gave the blondies a texture and flavour to compliment the peanut butter.
I would really consider making these again. They were so easy, as brownies normally are, and there was so much opportunity to add flavours. Who would have through that the blondie would make for such a delicious cousin of the brownie! I have always been a brownie fan and I think that now my eyes have been opened to a new world full of opportunities for delicious baking! I love how easy and quick these were to make, and you could really add any flavours you felt like having in them. I think next time I might try chocolate instead of caramel to make them taste a bit like Reece’s Pieces. That would be a delicious experiment!
Until next time, happy baking!
Ella xx