
It was my birthday last week and I tried to turn it into a weeklong celebration with large success. I managed to space my actual birthday, a trip away and my birthday party out enough that it felt like it just kept going. Normally I prefer to celebrate other people’s birthdays more, as I find I always put too much pressure on my own birthday to be a super special day. But this year I had a lovely day and was determined to throw myself a really nice party. And with birthday parties must always come a kick ass birthday cake. Multiple people said its not right to make yourself a birthday cake, that it’s a little sad. Many offered to make one for me, or to buy one instead. But I felt this was a perfect opportunity to try out one of the many crazy cakes that can be found on Pinterest.
I don’t know about everyone else, but I find that Pinterest is full of recipes for cakes, which look like something that I will never be able to humanly achieve, or eat and not die from a cardiac arrest. These are the sorts of recipes that wind up on those lists that Buzzfeed do of the expectation vs reality of Pinterest recipes. You go into it thinking “oh yeah, its just a cake, how hard can it be?” and wind up rocking back and forth in the corner. And I’ve tried to make cakes from Pinterest before and had epic failures, so I was a little hesitant to try again. But I felt that this would be the perfect opportunity to give it another go, and make myself the cake of my dreams.
The cake in question combines two of my favourite things: Chocolate and peanut butter. I just think this is a match made in heaven, as peanut butter is just about the best thing ever invented. If I could eat it all day, and not become the size of a house, I totally would. So when I asked myself what cake I should make, this one was the obvious choice.
Now, upon first glance this cake might appear to be very terrifying and the thought of trying to make it could make you shudder with fear. But it was surprisingly easy. I would actually use the cake recipe again, as it was super easy and made a delicious, light, chocolate cake. Put that together with the glorious peanut butter icing, and you have an impressive looking, but relatively simple cake. You just need to take the time to do it right; it is not a rush job. Love the cake recipe and it will love you back, in the form of an amazing cake.
I could have made it even prettier, as unlike the recipe I used, I did not do a ganache topping over the top, as I just felt it was already a pretty full on cake. But you could do this if you wanted to. Completely up to you and your obsession for chocolate.
My mum and dad tried some of this cake and called it the over the top (OTT) birthday cake. I told them that they had come up with the perfect name for the cake. It was a little over the top, but when you are making your dream birthday cake, you need to go all out.
The OTT Birthday Cake (Chocolate Peanut Butter Layer Cake)
Adapted from Lemon Sugar
Preperation Time: 45-60 minutes
Cook Time: 35 minutes
Assembly Time: 60 minutes
Serves: 20-25 pieces
Ingredients
Chocolate Cake
- 3 cups of Caster Sugar
- 2 2/3 cups of plain flour
- 1 1/3 cups cocoa powder
- 2 ¼ teaspoons of baking powder
- 2 ¼ teaspoons of baking soda
- 1 ½ teaspoons of salt
- 3 medium sized eggs
- 1 ½ cups of milk
- ¾ cup of rice bran or vegetable oil
- 1 tablespoon of vanilla extract
- 1 ½ cups of boiling water
Glorious Peanut Butter Icing
- 250 grams of unsalted butter at room temperature,
- 250 grams (or 1 box) of cream cheese at room temperature
- 1 teaspoon of vanilla extract
- 1 ¼ cup of smooth peanut butter
- 4 cups of icing sugar
- ¼ cup of heavy cream
Garnish
- Peanut flavoured candy of your choice (Reece’s pieces would be the obvious choice, but these are hard to come by in Australia. So I used some little peanut butter caramel chocolates instead)
Directions
For the Cake:
- Preheat the oven to 180 degrees (350 degrees F)
- Prepare three pans of roughly the same size (mine were slightly off each other, but relatively similar – you can always make it even with icing later) – here’s a tip my mum taught me with preparing cake pans. If you are using one where the bottom doesn’t come out, butter the whole pan. Then fold two pieces of foil into two long strips. Place these in the bottom of the pan so that they cross and have bits of the strip hanging out of the pan. Fold these down and place a circle of baking paper over the top of these in the bottom of the tin. When it comes time to remove the cake, you will be able to use the foil to lift the cake out of the tin with ease.


- In a very large mixing bowl, combine the sugar, flour, cocoa, baking powder, baking soda, salt, eggs, milk, oil and vanilla.
- Using a hand mixer, beat the ingredients until just combine (don’t overdo it in this step, just make sure that the batter comes together and the lumps have started to dissolve).
- Add the boiling water and beat the mixture again until combine and smooth. Then, use a spatula to push the mixture on the side of the bowl into the batter, and mix again. It should look similar to the below:

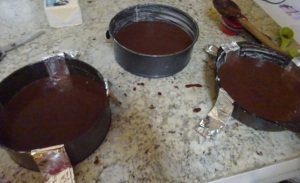
- Evenly distribute the mixture into the 3 cake tins. I used a soup ladle to do this as I could evenly measure how many scoops went into each pan. Here’s my finished product:
- Bake for 30-40 minutes until a skewer comes out clean. I put them in for 30 minutes and then tested each 2 minutes after that until I got this result. It ended up taking me about 40 minutes.
- Cool the cakes on a wire wrack for 15 minutes, then remove the cakes from their pans to cool completely.


Glorious Peanut Butter Icing
- In a large bowl, beat the butter until it is light and fluffy, about 3 minutes.
- Add the cream cheese, and beat this with the butter until smooth and creamy.
- I had to take a shot of the before and after of my peanut butter jar, because there is nothing more perfect than an unopened peanut butter jar, wouldn’t you agree?


- After marvelling at the glorious peanut butter add this and the vanilla to the mixture, and beat until incorporated with the cream cheese and butter. Use a spatula to push any excess from the sides of the bowl into the mixture, and mix again until completely incorporated.

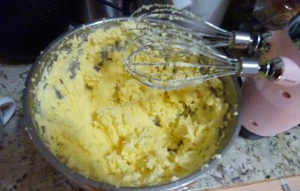
- Add icing sugar and the heavy cream, and beat until this is fully incorporated and the icing is smooth and creamy. Here is how mine looked at the end, in all its glory (this is some of the best icing I’ve ever eaten. It took all my power not to eat the whole bowl):


Assembly
- Once the cakes are cool, place the first cake on a nice big plate.
- Using an offset spatula, or a cake-decorating tool of your choice, smooth about a cup of icing onto the top of the cake.
- Add the second layer of cake on top of this icing, and put another cup of icing on the top of this layer.


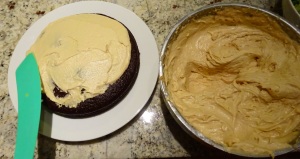
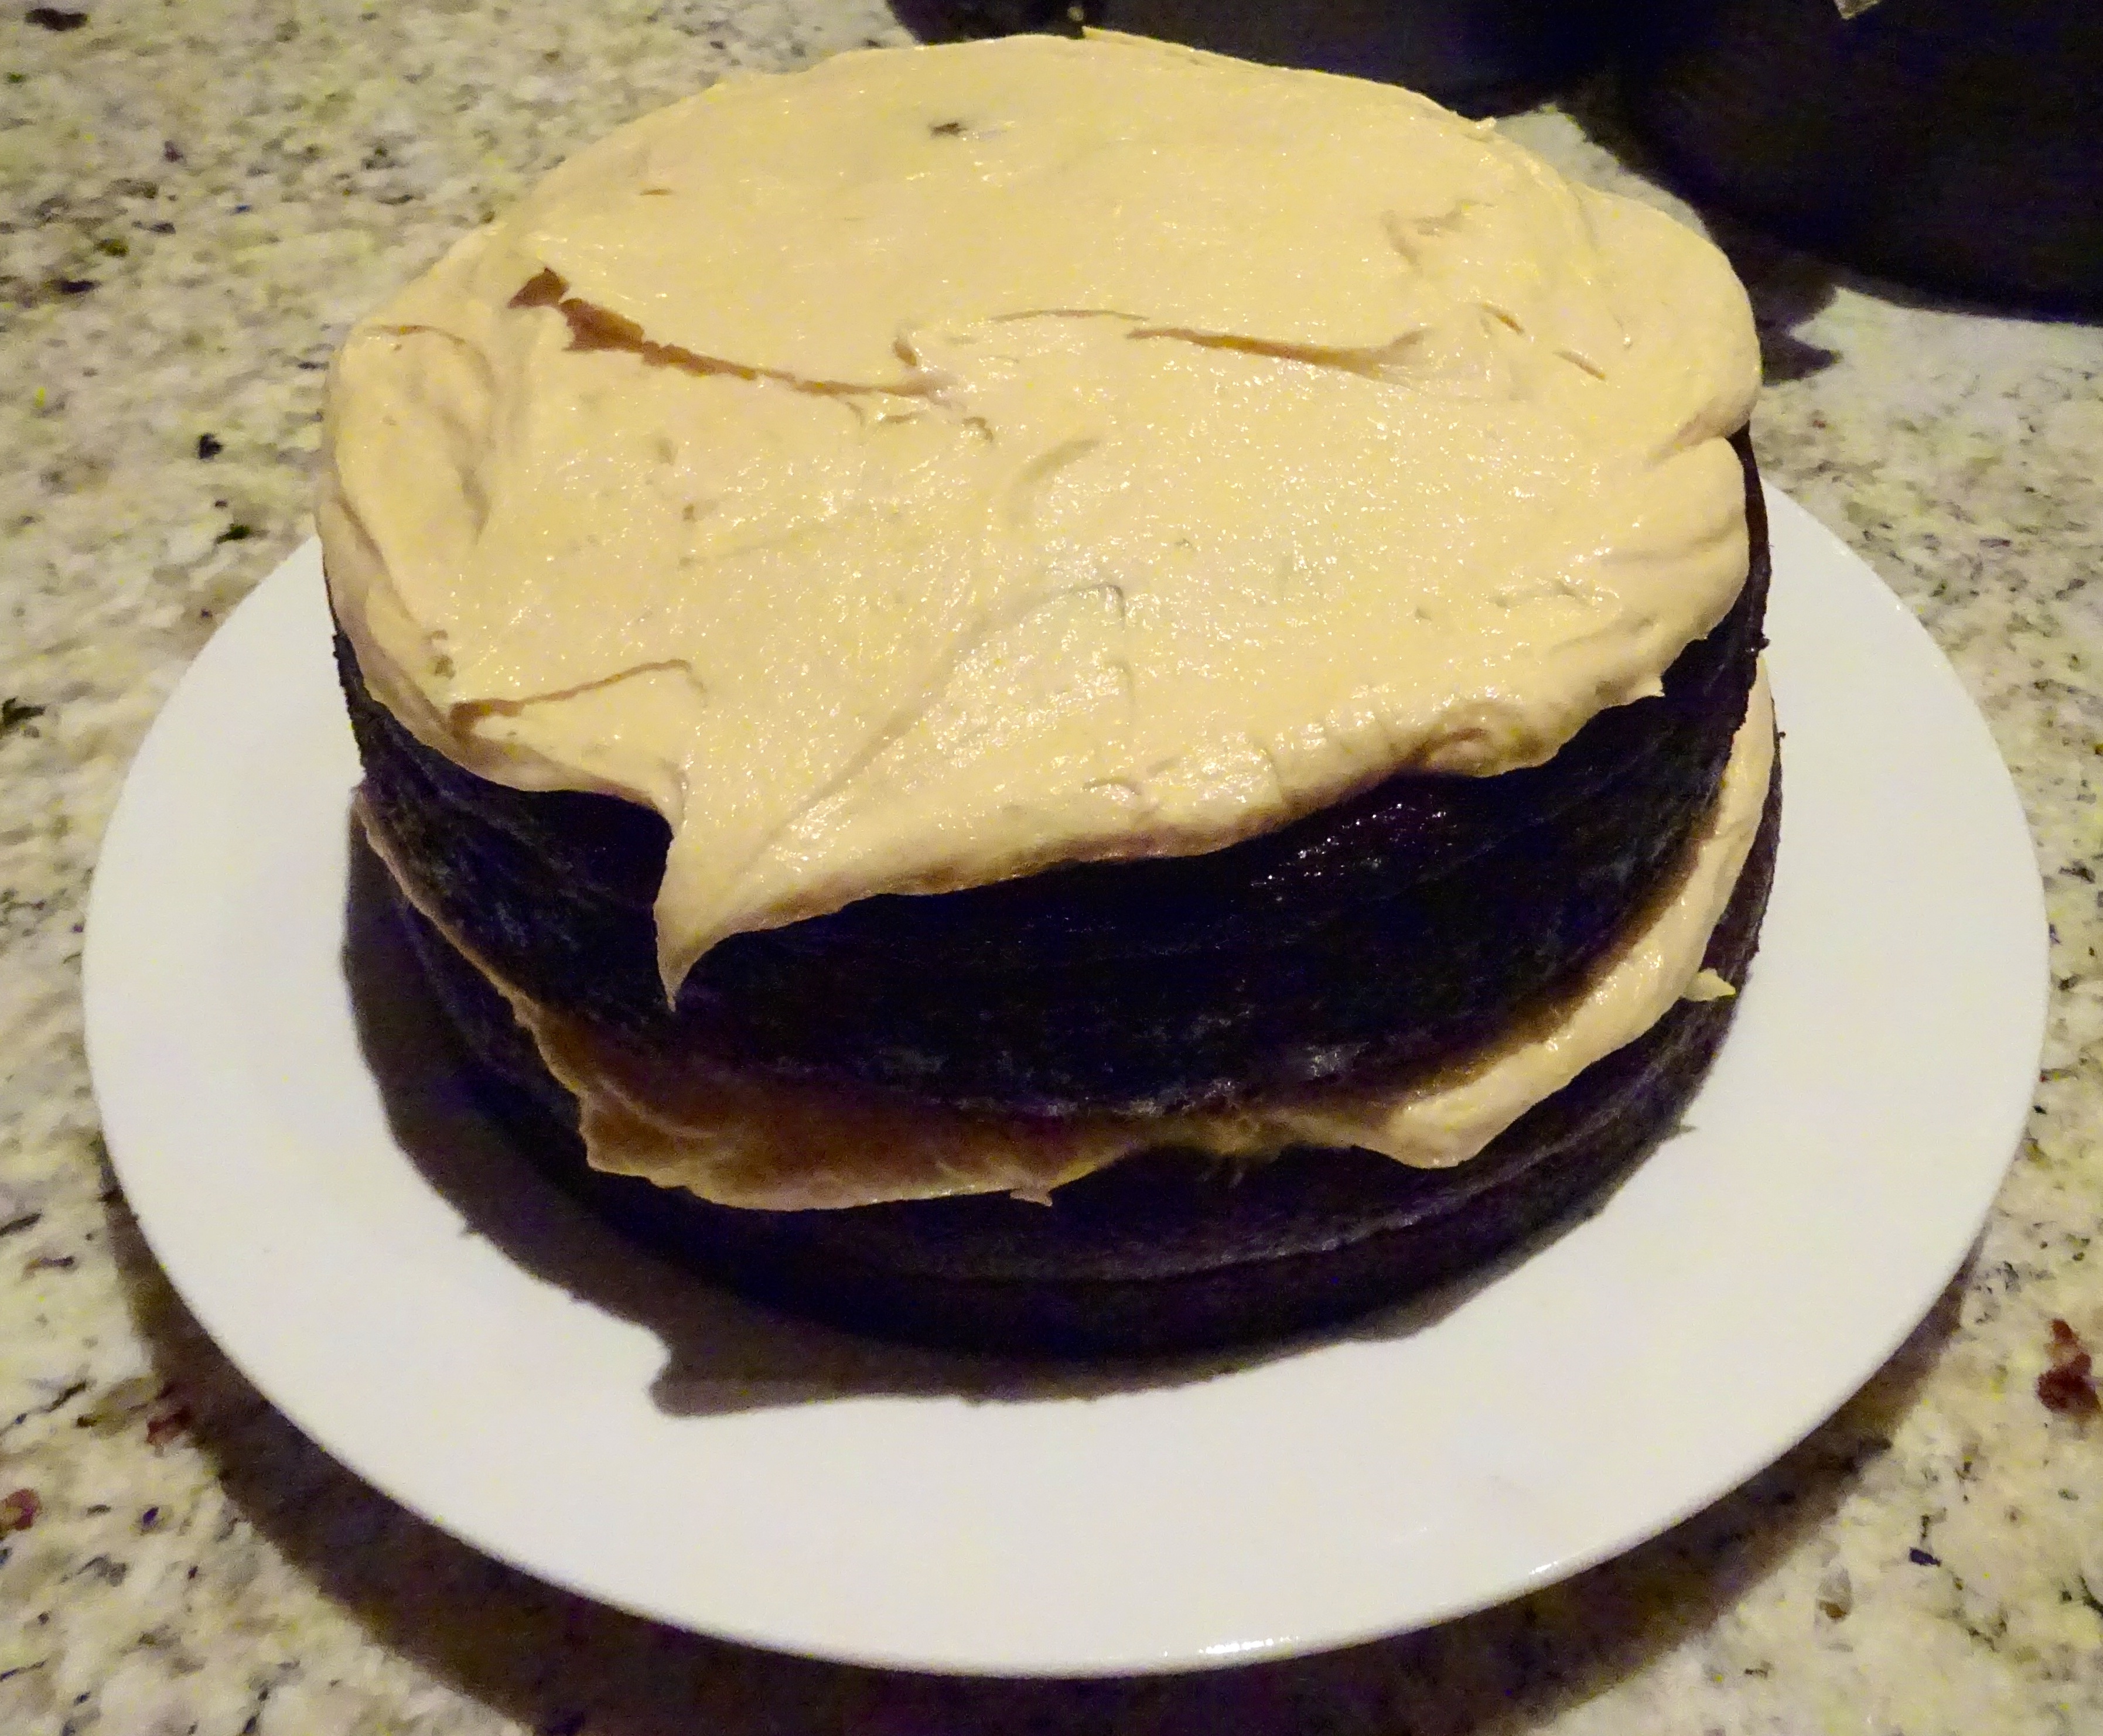
- Add the final layer to the cake, and smooth icing over the top. At this stage I put the cake in the fridge to set, as it was feeling a little precarious, so I didn’t want to leave it out any longer. I left the cake in the fridge for about 30 minutes. Here is how mine looked while icing the last tier:

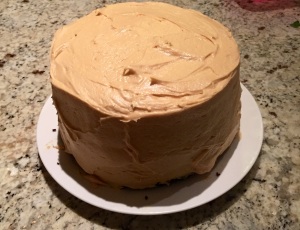
- Once set, get the cake out of the fridge. With the remaining icing, ice the sides of the cake, ensuring that you fill in any differences in size between the cakes to make the whole surface even. Smooth over with a spatula once done, and place back in the fridge until you are ready to serve. Here is how mine looked at the end:
- When ready, get the cake out of the fridge. Cover with a peanut butter candy of your choice for garnish.


And there you have it! Its not as difficult as it initially looks. I am proud of myself for finally trying a delicious Pinterest cake, and I honestly couldn’t have asked for a more delicious cake for my birthday! I had people texting me after the party asking if I had leftovers, they loved it so much! Although it’s not the healthiest cake you could ever make, it was so delicious you just don’t care. It was totally worth every calorie of every bite, I swear this cake was happiness in a dessert.
Let me know if you make this cake, or what your dream birthday cake would be!
Happy Cooking!
Ella xx

This looks to me like a pretty decent dream birthday cake, well done! My mouth is already watering…
LikeLike
Looks sinfully goooood😊
LikeLike